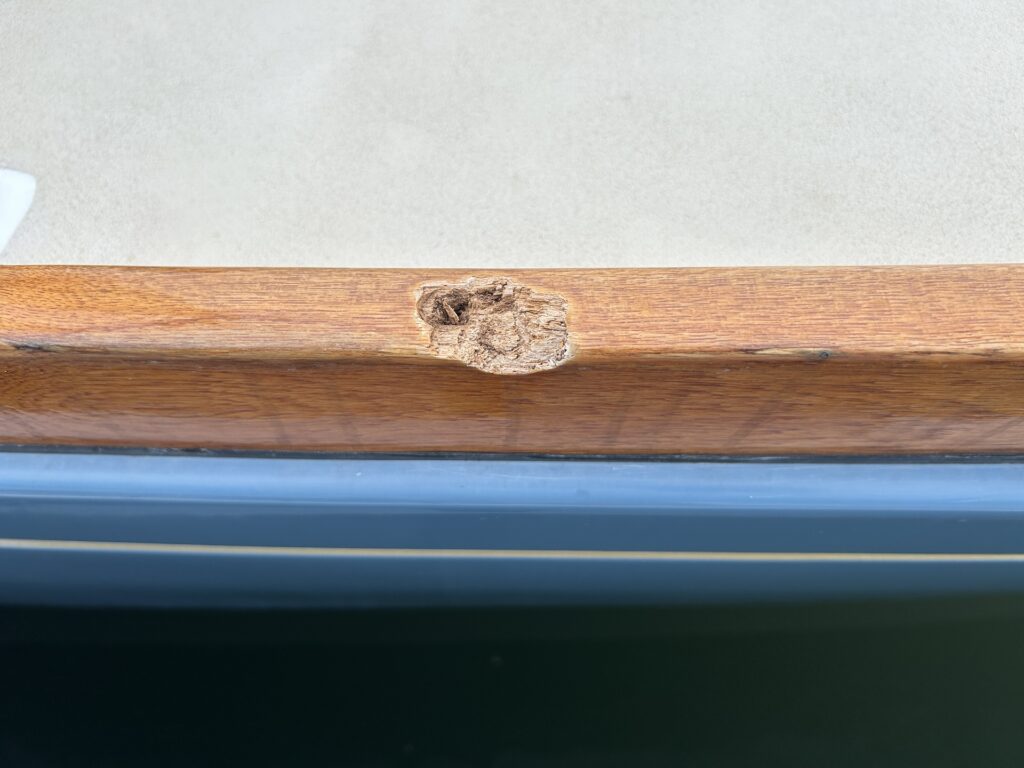
The customer had an incident in which the teak toe rail on his 34-foot Sea Sprite suffered a ding. The wound you see below is about 1.8 inches long and 0.5 inches at its deepest.
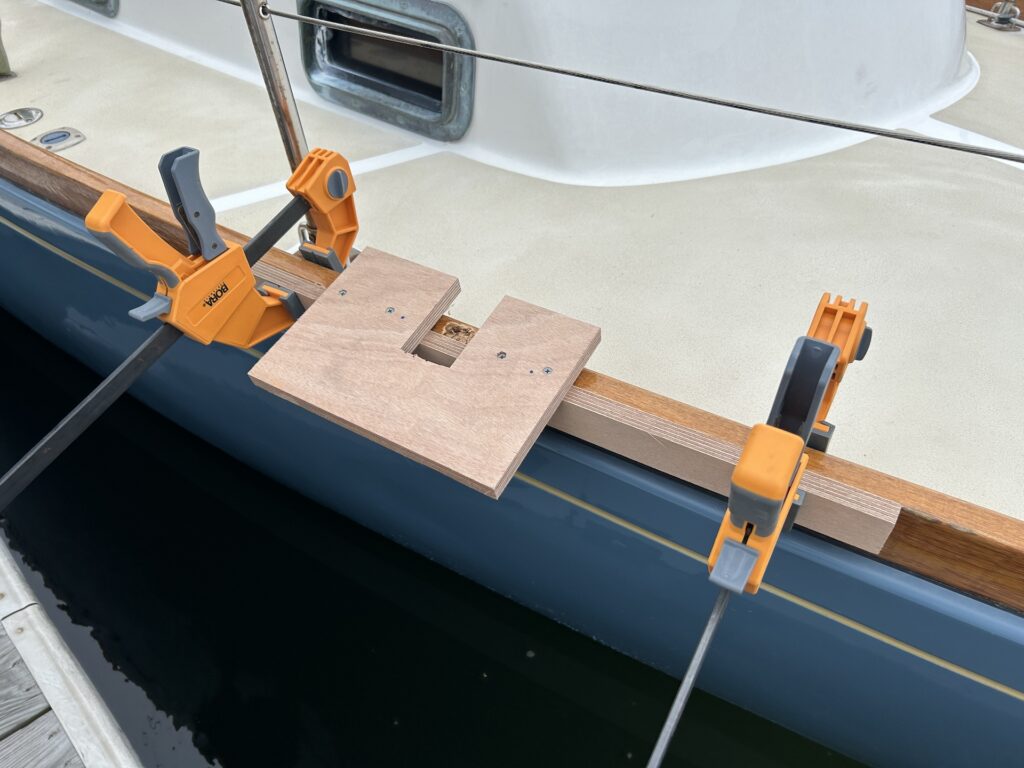
I built a jig for the router. Note in the image below that it is constructed of two pieces, and clamped to the toe rail by the longer piece. The shorter piece is where the router base will slide around, and the router bit will remove material as it moves between the parallel guides. The shorter piece is connected to the longer piece with four screws, Three of the screws were added after clamping, The reasoning here is that the rail is curved, so the long piece bends a bit under clamping pressure. If more than one screw were in place before clamping, then the bending of the long piece would stress the screws, possibly weakening the jig.
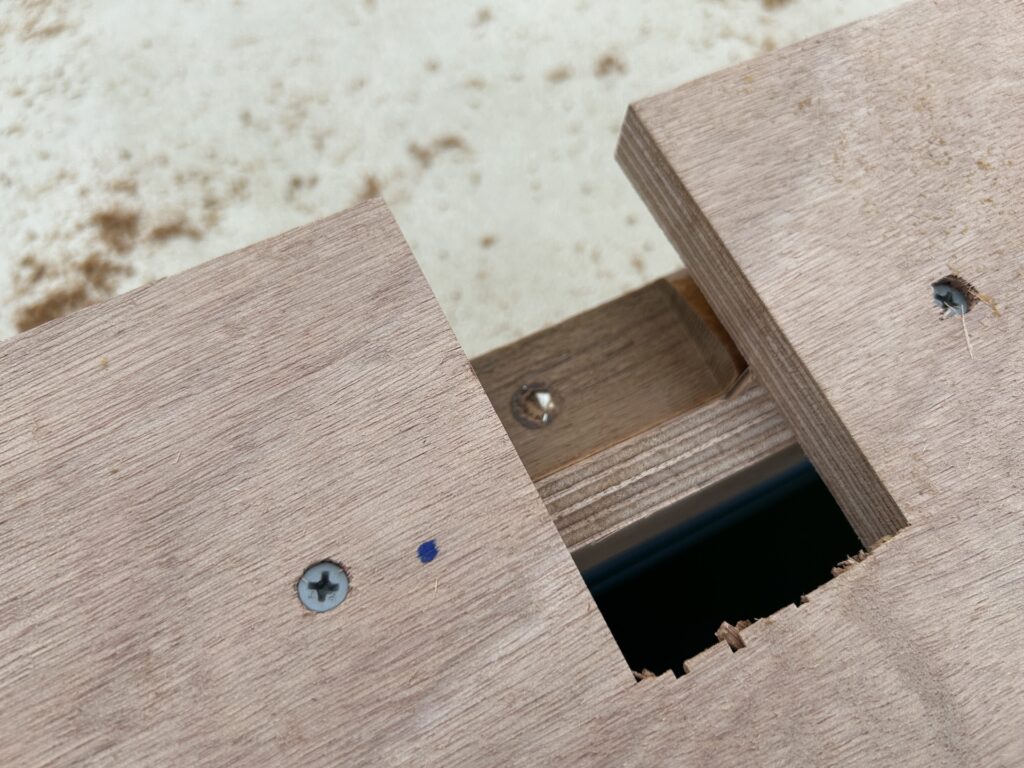
I started with the router bit high, removing material, and lowering the bit slightly before removing more. This process repeated until all of the injured rail was removed. The reason for this protocol is several-fold: (1) “Sneaking up” on the ideal depth ensures that no more material is removed than necessary. (2) The less material removed at once, the less likely there will be unwanted “chip out” of good wood. (3) There is a through bolt under the wound and I didn’t want the router bit to touch the screw. You can see part of the screw head exposed in the photo below. Luckily the wound wasn’t so deep that we had to remove the bold, deepen the countersink, and re-bolt.
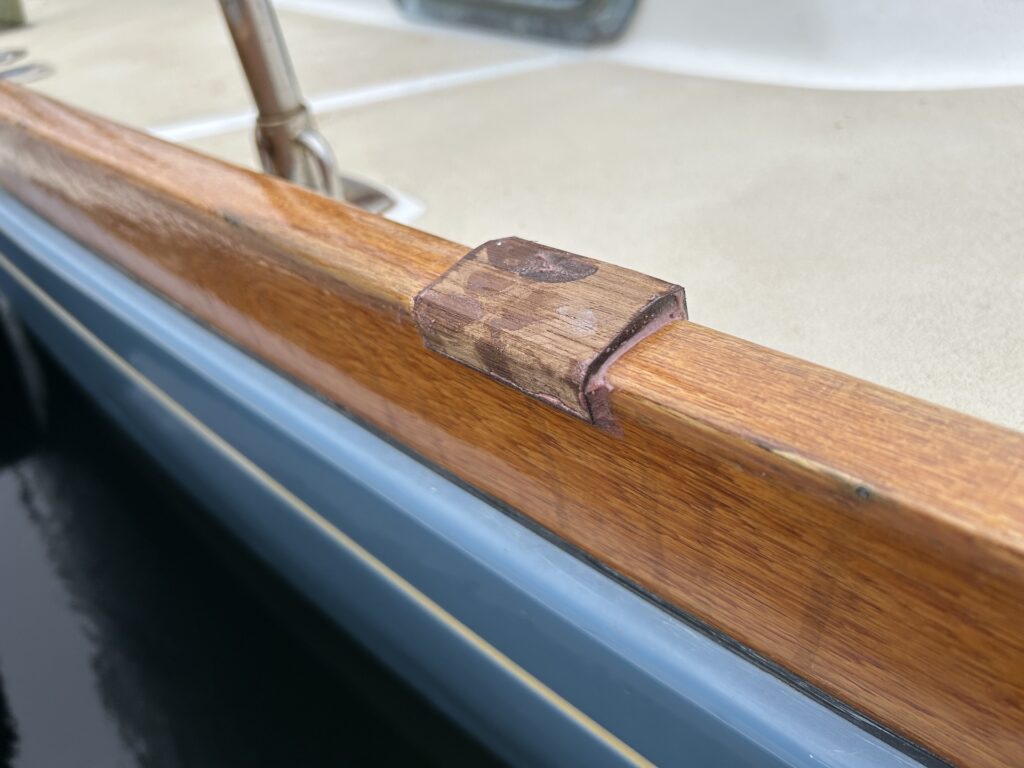
I made the jig at the workshop, and used it as a reference for getting the length of the teak plug just right. Here the plug is set in thickened epoxy:
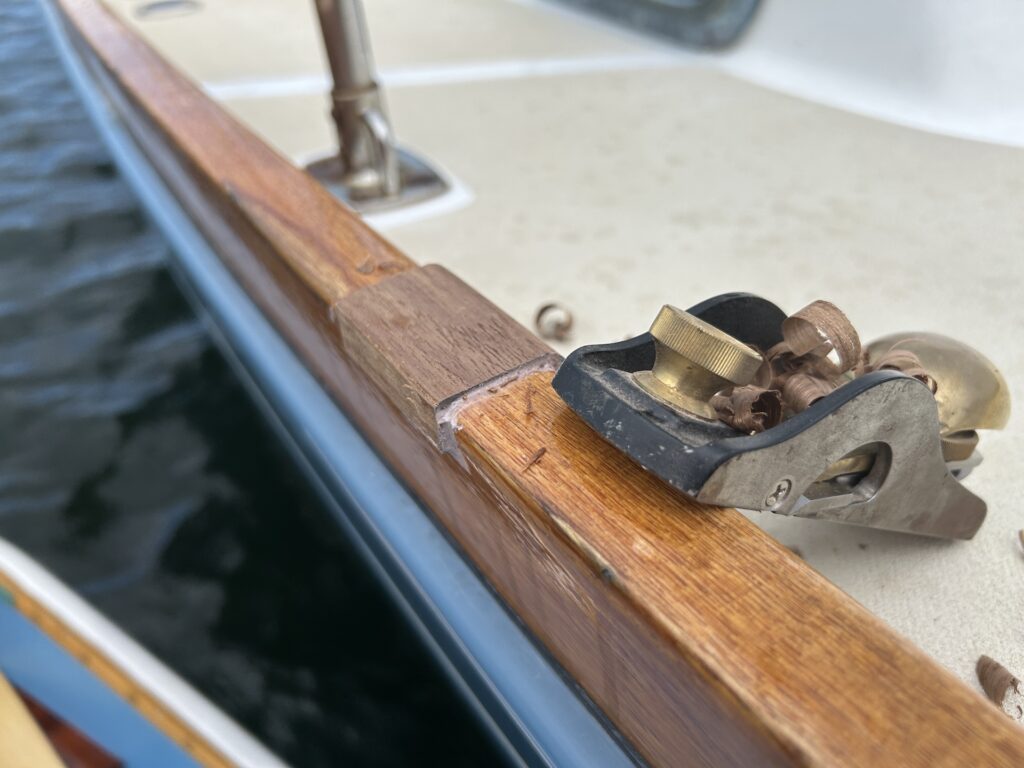
A few days later I rowed out to the boat and shaped everything with a block plane and 150-grit sandpaper:
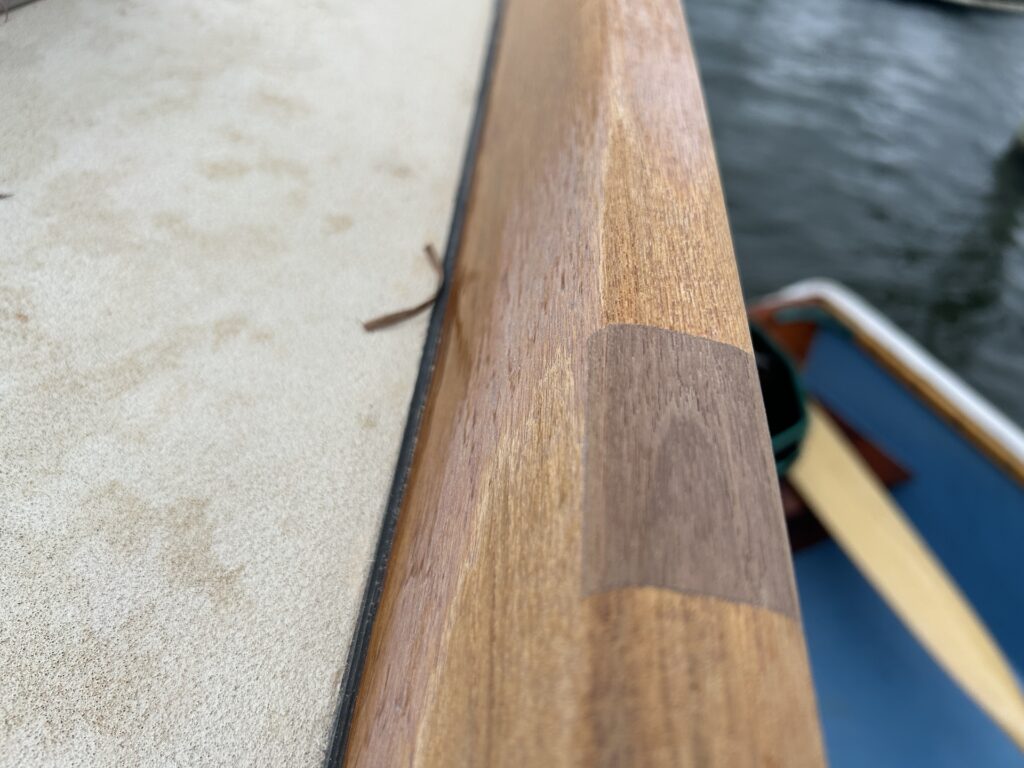
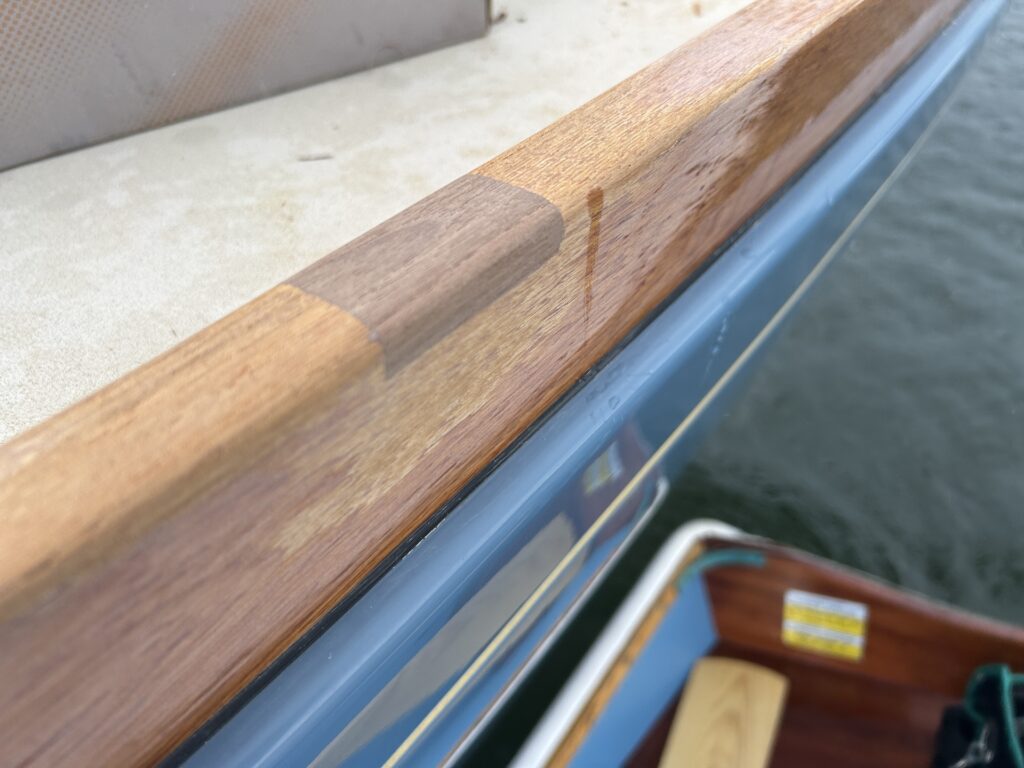
In time the color of the plug will blend with the rail. The owner will apply Cetol to finish the job.
