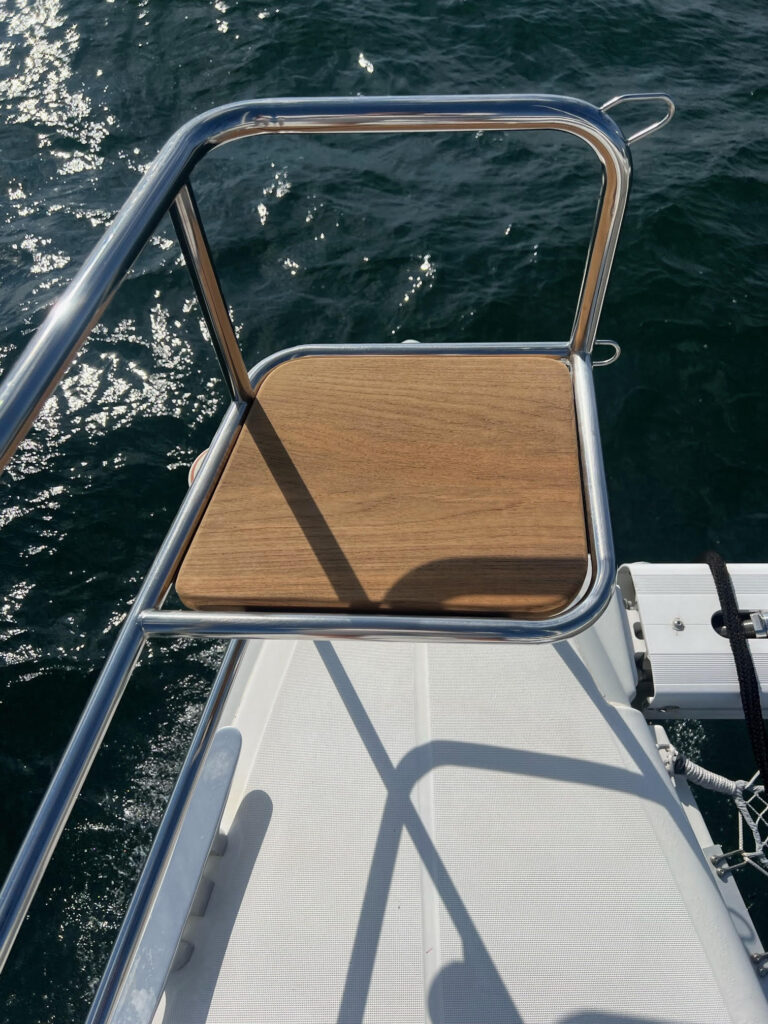
The customer owns a 62-foot catamaran, and they utilize the yacht for their charter business. Click HERE for a link to their website.
There is a bow pulpit on each pontoon. Each pulpit has a small seat made of 3/4-inch plywood. The plywood has become dilapidated and delaminated over the years, and I was asked to make and install teak replacements. Before removing the original seats I noticed that there is a non-uniform gap between the perimeters of the seats and the stainless rails. I decided to try to even up the gap by adjusting the dimensions slightly, and corresponding notes were made on the original seats before removal.
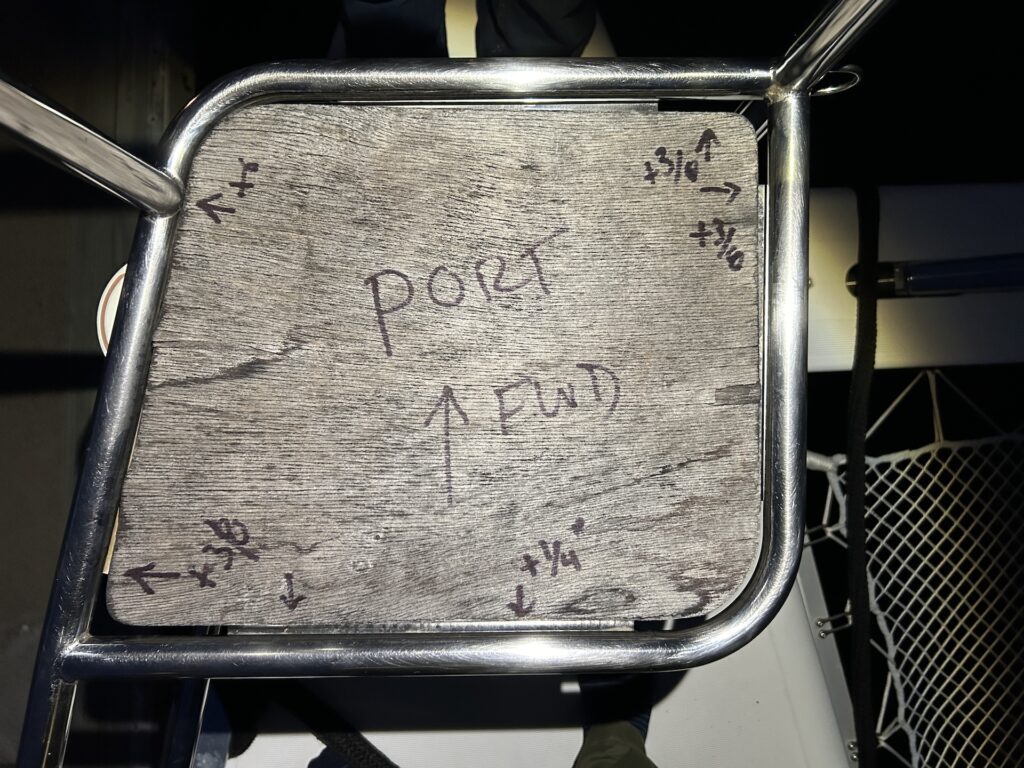
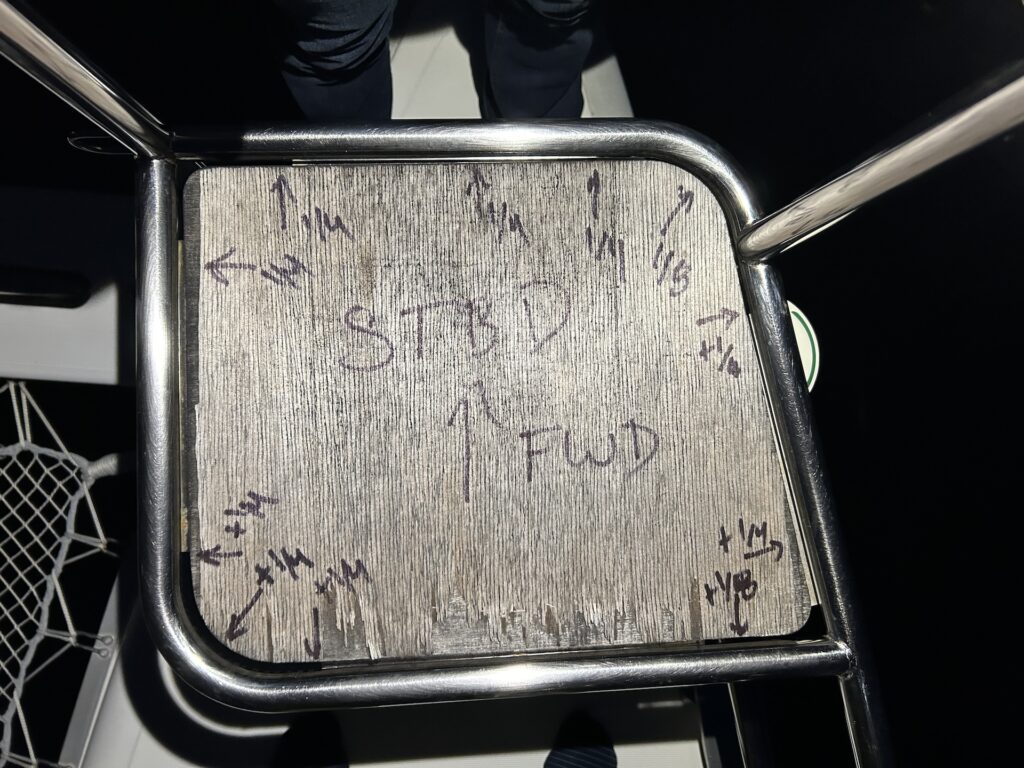

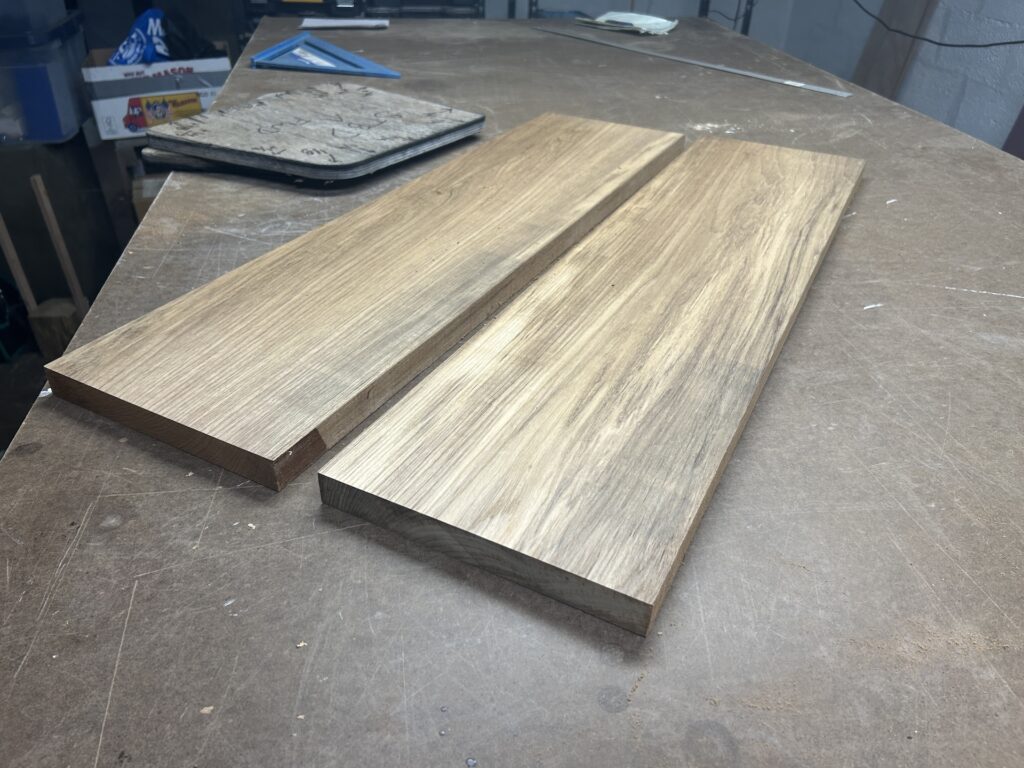
Back in the workshop, I laid my teak stock on the bench to plan out the cuts.
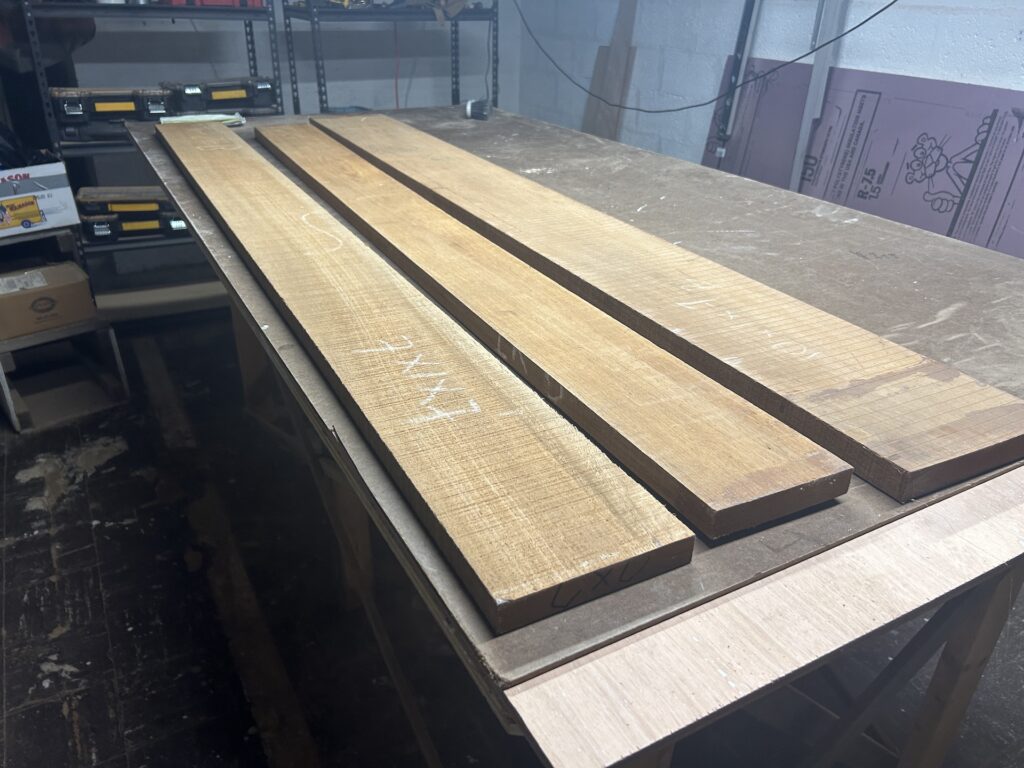
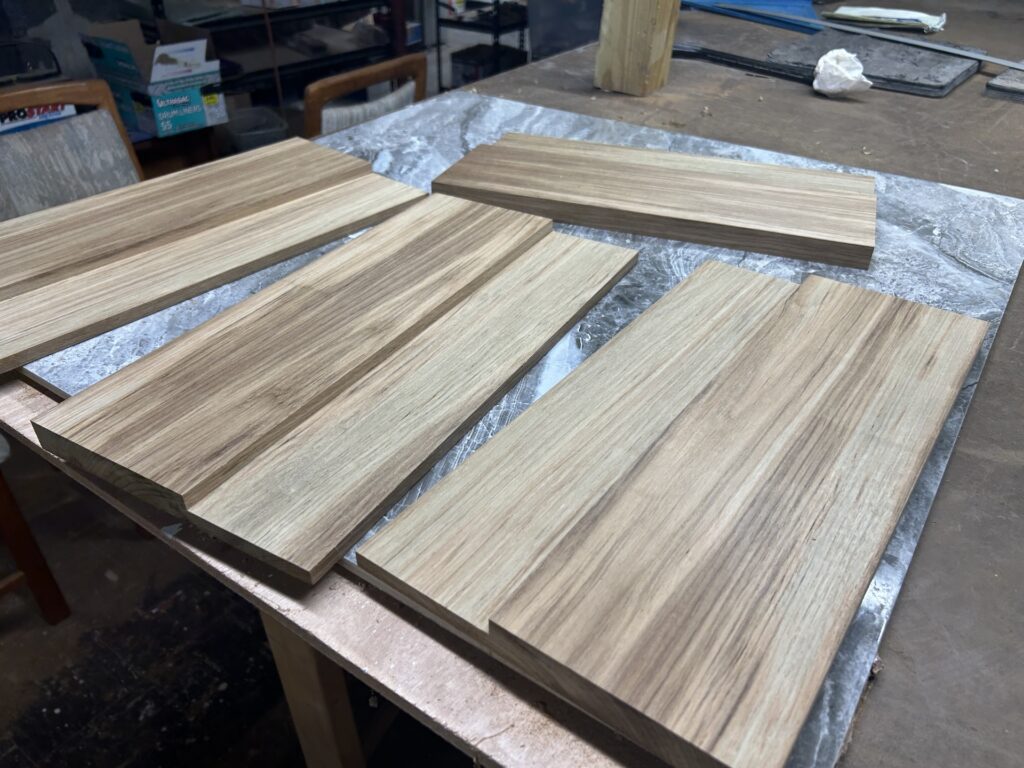
The best quality teak comes “rough” and rough lumber comes in various lengths and widths, and thicknesses are designated in quarter fractions. The lumber in the image above, for example, is 4/4 (four quarters), or nominally one inch thick. The actual thickness is about 1/8 to 1/4 inch thicker than 4/4 becuase it needs to be milled to remove the roughness. The image below shows the selected lumber after planing down to a little more than 3/4 inches.
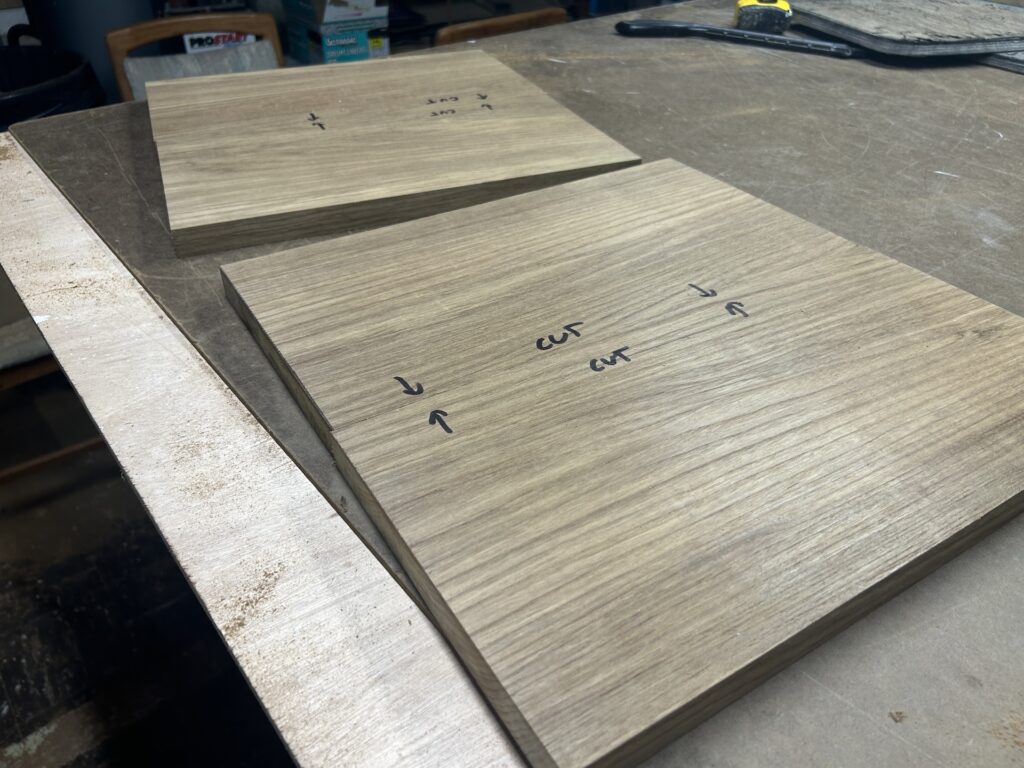
None of the boards were wide enough to make the seats, so I had to make the blanks with two pieces joined with a wide lap joint. Here are the boards, ready for cutting the joints:
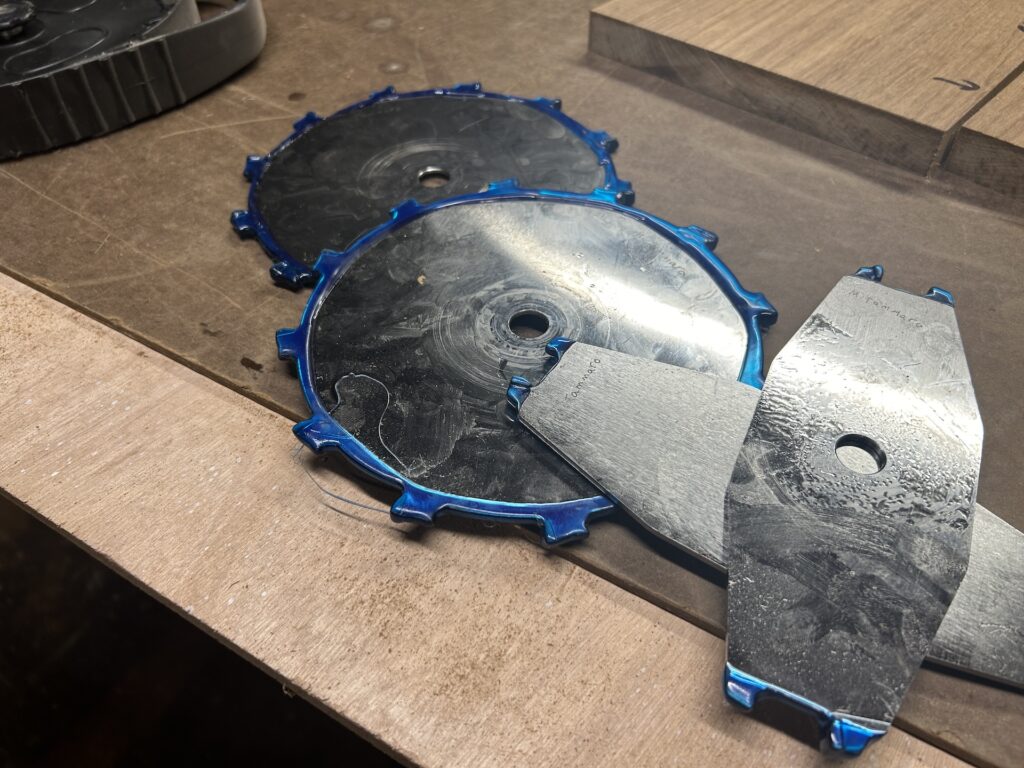
I was happy that one of my stacked dado sets was freshly sharpened. Teak is notoriously tough on blades. The dado set in installed in place of the table saw blade, effectively making a very wide blade that can remove material quickly.
After making the rabbets with the saw, they are cleaned up with hand tools and hand sanding.
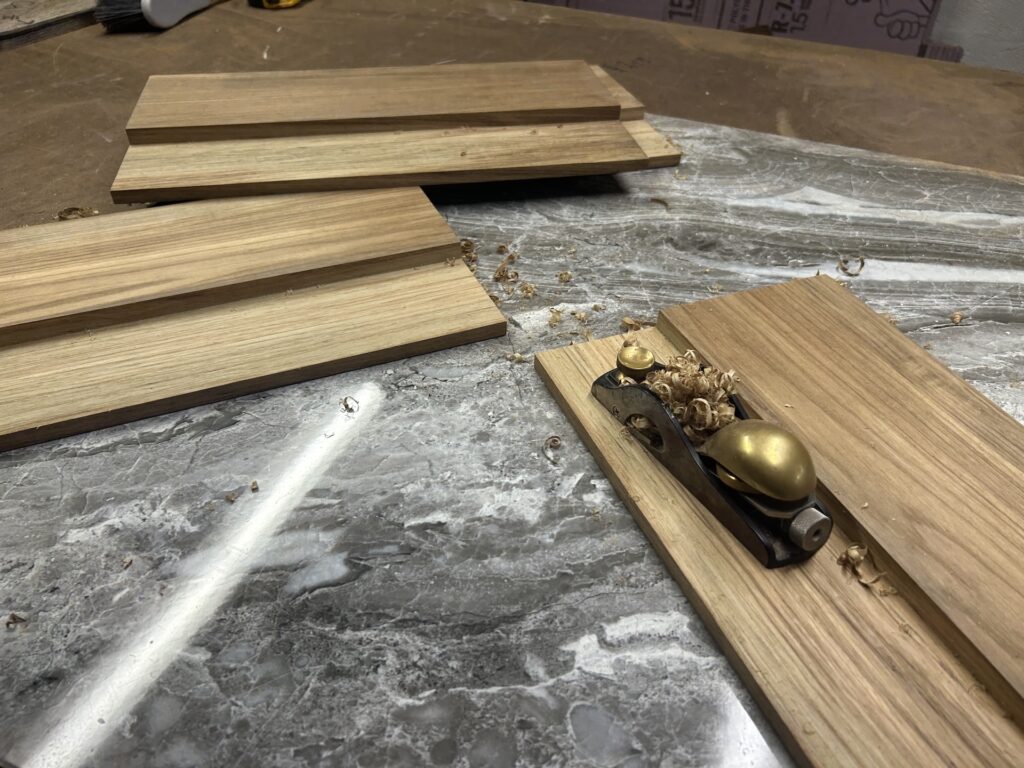
The rabbets are finished and the pieces are ready for glue-up:
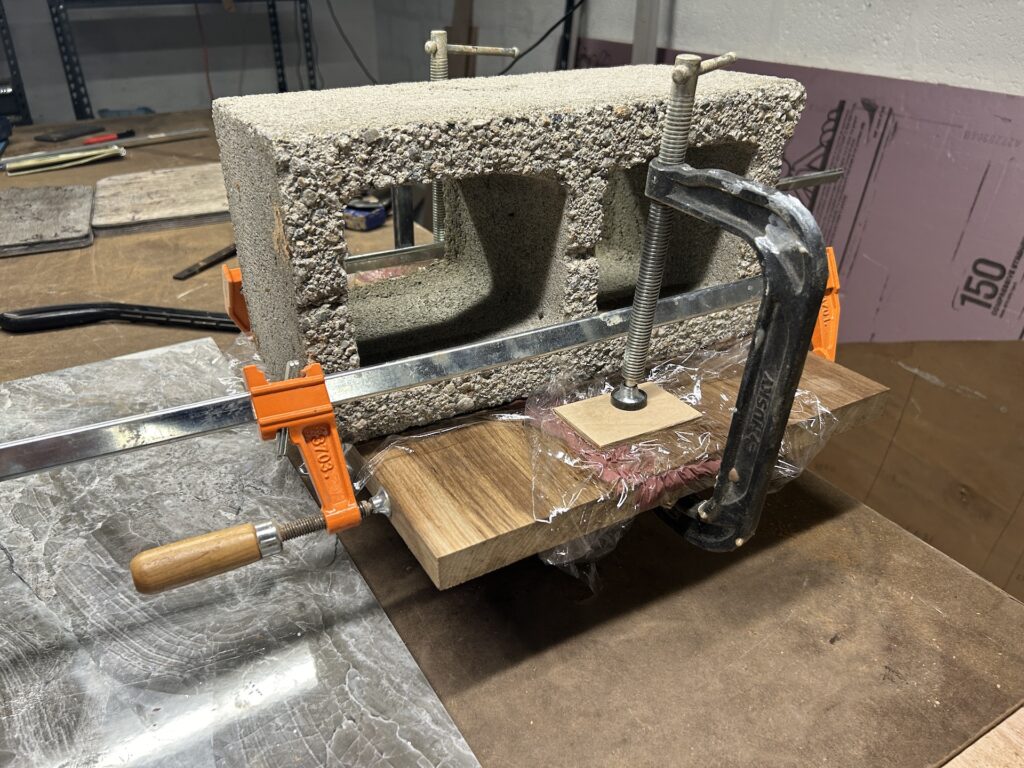
The joint was made with thickened epoxy, and strong, well-planned clamping is key to a good joint:
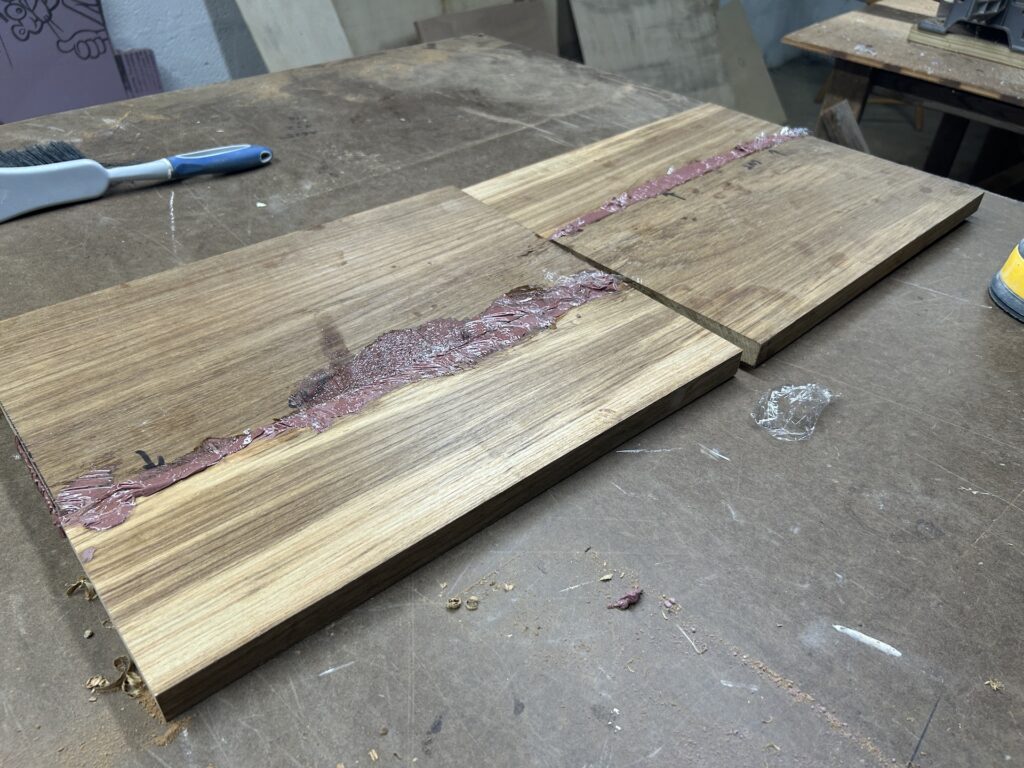
The next day, out of the clamps, there is the inevitable squeeze-out to clean up with sanding:
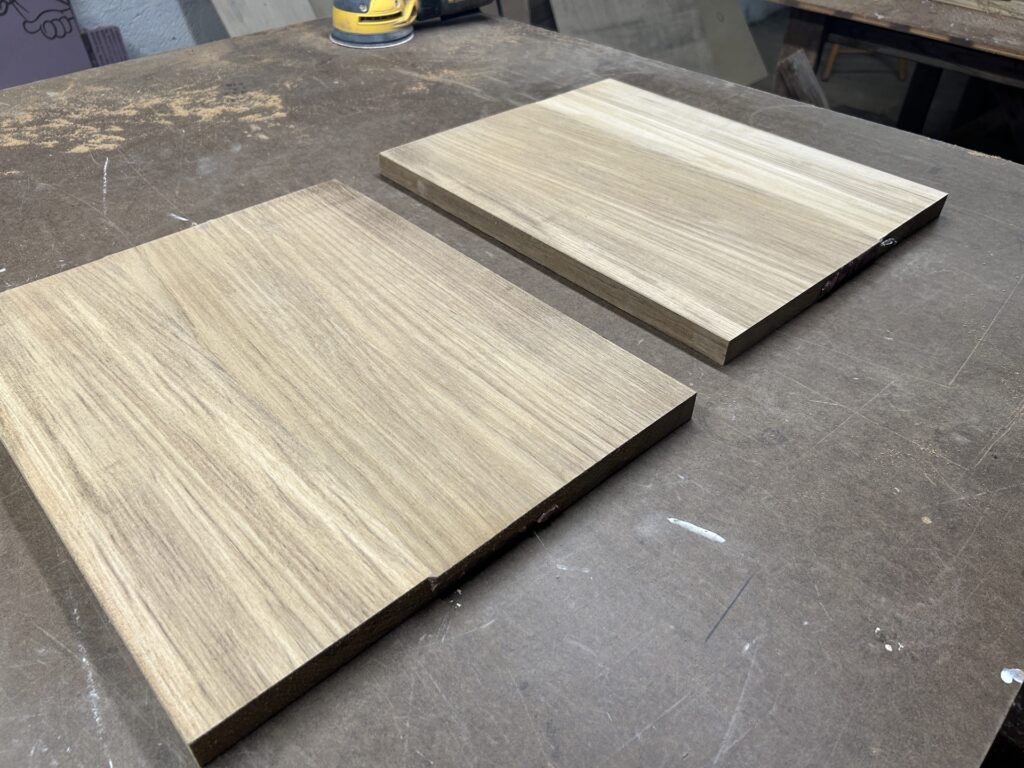
I was very pleased with the joints. The overlap is about 3.5 inches, making an joint stronger than the wood itself, and the seams are nearly invisible, and will be totally invisible once the teak grays in the weather.
Here I’m using the original pieces to trace out the pattern, incorporating the increases in dimensions as indicated by the notes. The original pieces were also used as templates for the pilot holes for the screws.
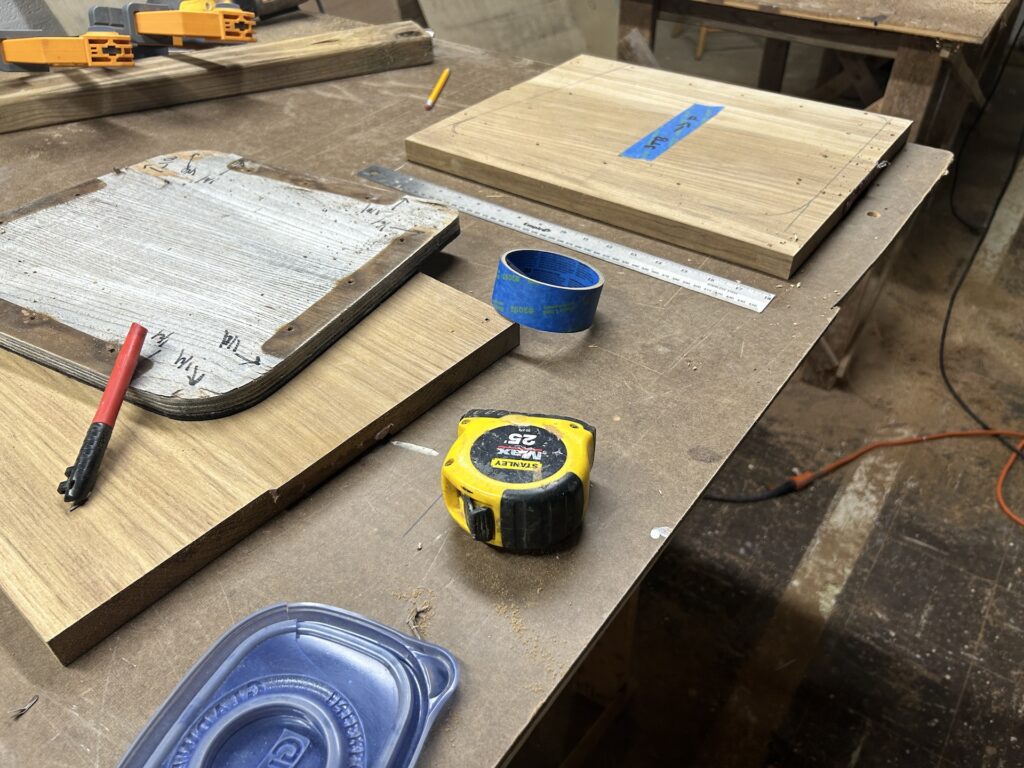
After cutting and sanding, I used a router with a roundover bit to give the pieces a nice look.

The final installation required fastening the seats to the brackets with 12 screws each. (Here we are viewing the bottom of the seats.)
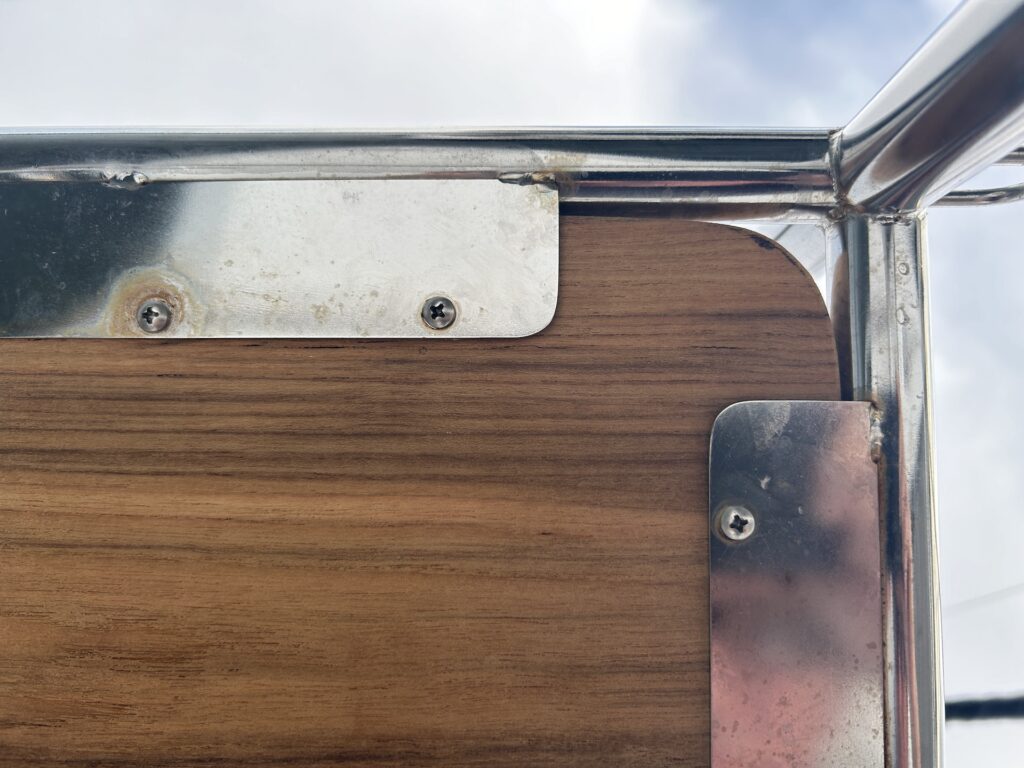
Some fine-tune adjustments were made on site, using a hand plane and sandpaper, and the following images show the final results.
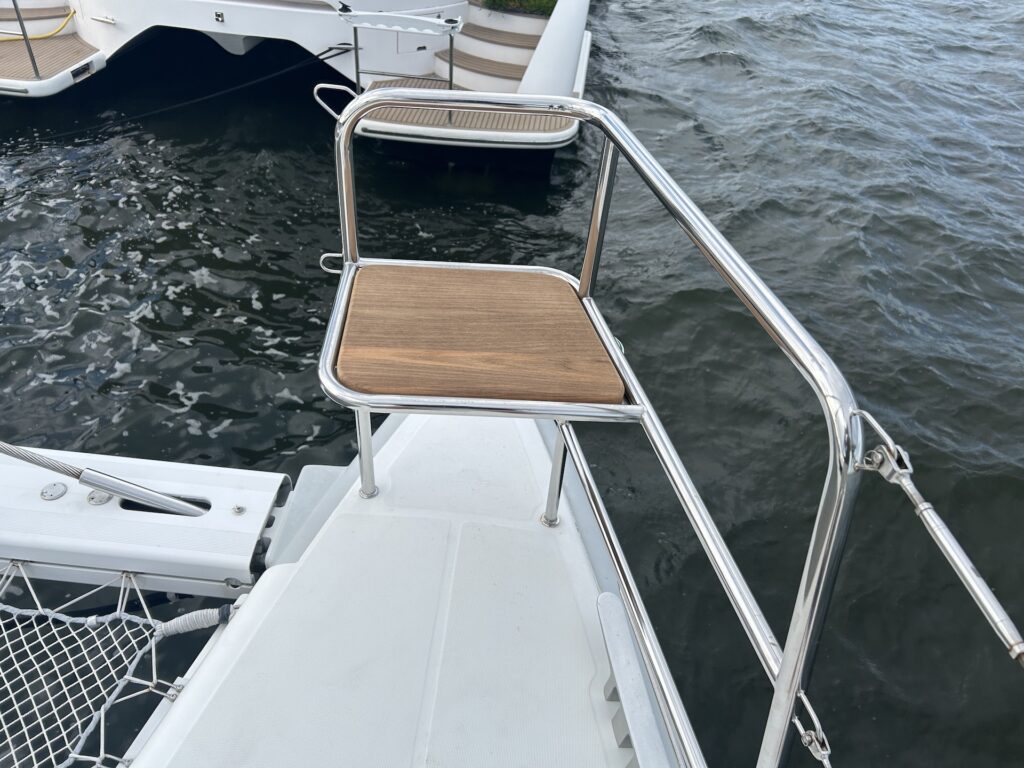

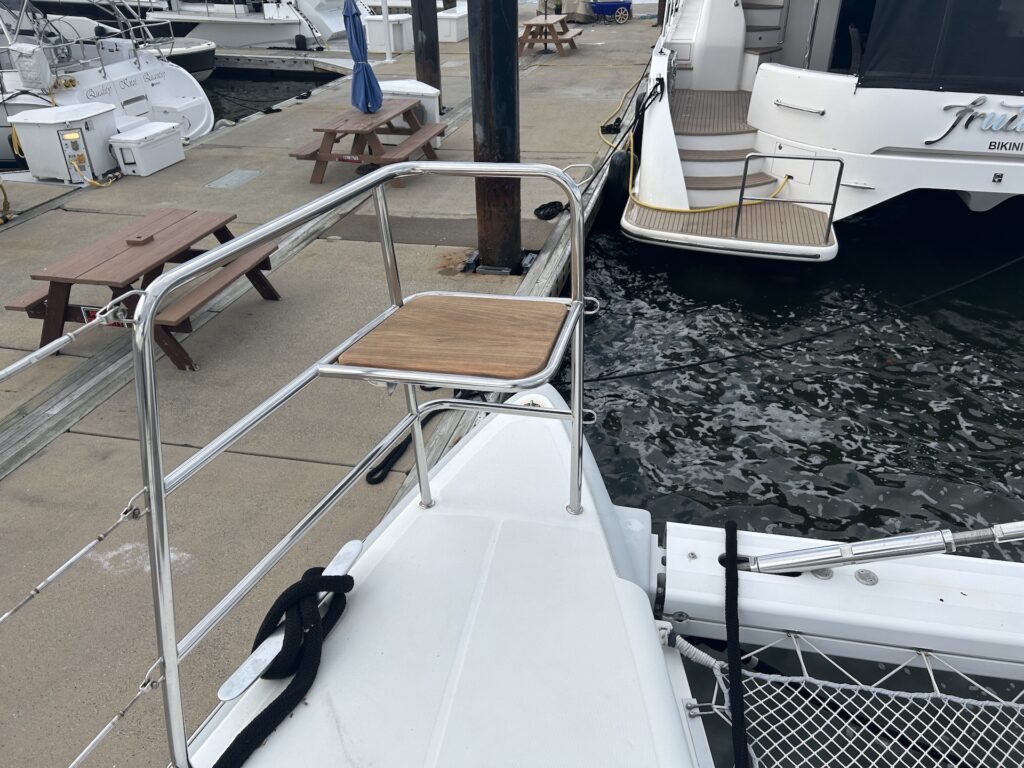

The customer was pleased with the result and sent me the following image as they were setting a course for Bermuda.
